 |
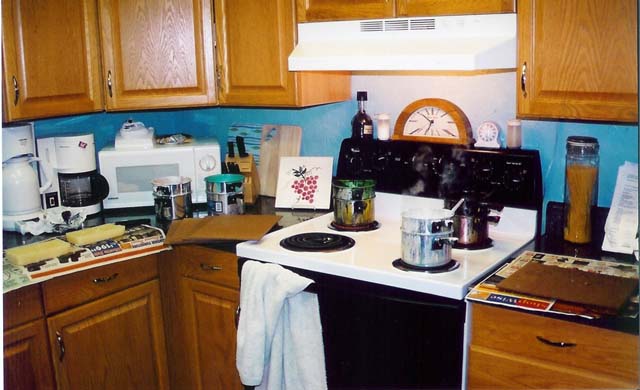
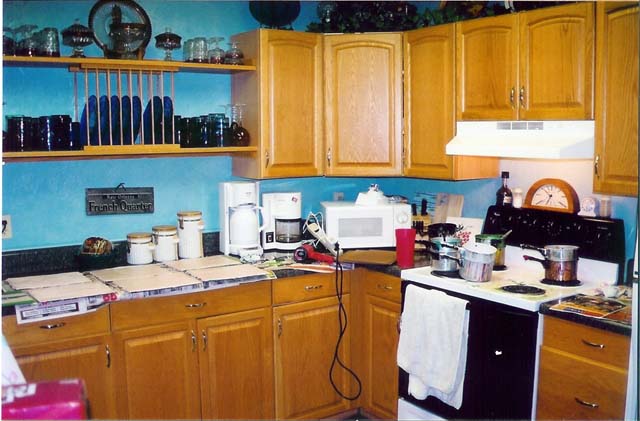
I took the double boiler pans home and added water and began melting the wax. It is a very messy process as you can see from the pictures. It took about 20-30 minutes for the wax to melt. You can see the masonite board to be used as a support to the right of the stove. On top of the stove you can see three colors of wax being melted. To the far left you can see 2 blocks of beeswax that I added to the colors that were low. |
 |
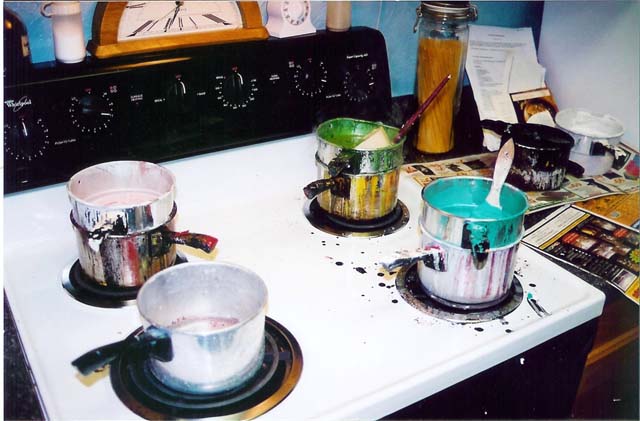
In this photo you can see the development of the panels that
I am painting
with 6 different layers of colored wax. In the center of the
photo
you can see where I am starting to paint the turquoise green
color
over the black layer.
|
 |
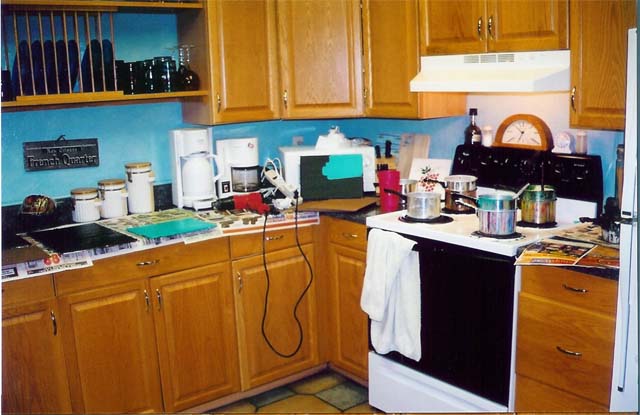
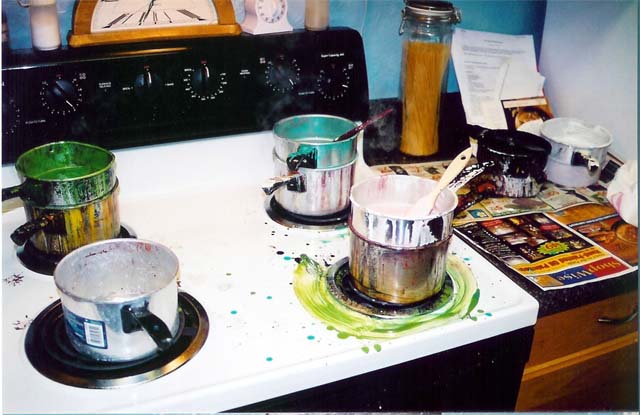
In this photo you can see the drips of wax on my stove from
holding
a board over the pan while I painted the wax on to it. The pan in
the back to the right has a block of pure beeswax melting into the
color
to make more. |
 |
Opps, it takes many paper towels to clean up the wax. It is easier to clean it up while it is hot. If it should dry, use the heat gun to heat it up and wipe it clean with a paper towel. Careful, the heat guns are very powerful! |
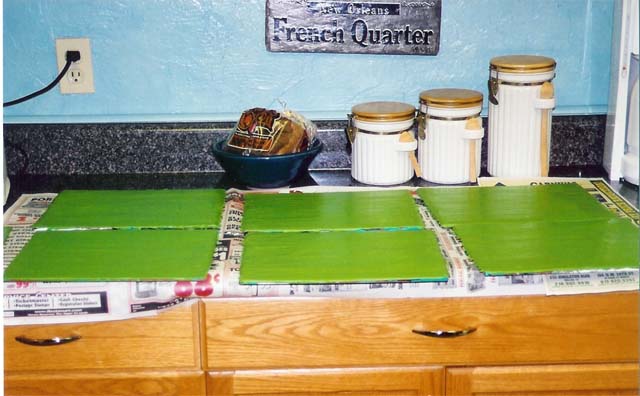 |
Here are the six panels that are almost finished. It took over 2 hours to paint 6 layers on 6 boards. |
 |
The panels will be carved into to reveal the colors underneath. Metal carving tools will carve the wax. You may have to heat the panel by using a heat gun to soften the wax. Tools that can be used are razor blades, wood cutting tools, palette knives, encaustic irons, and metal tools for ceramics/clay. |
 |
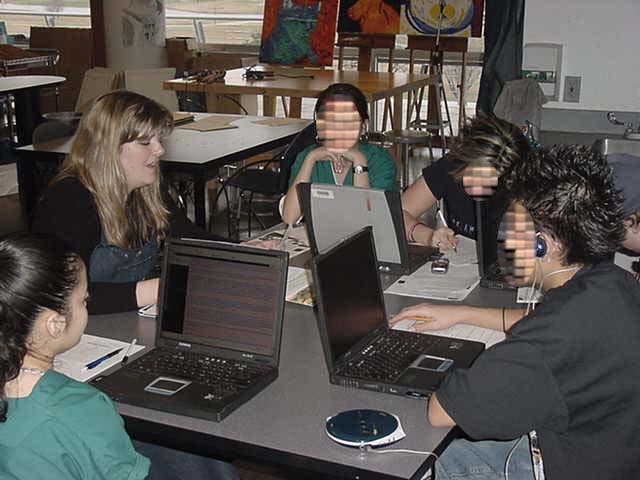
This is the first class that I did a demonstrations for on encaustic painting at the Academy High School of Irving. The students are working on some test panels to sample the medium. |
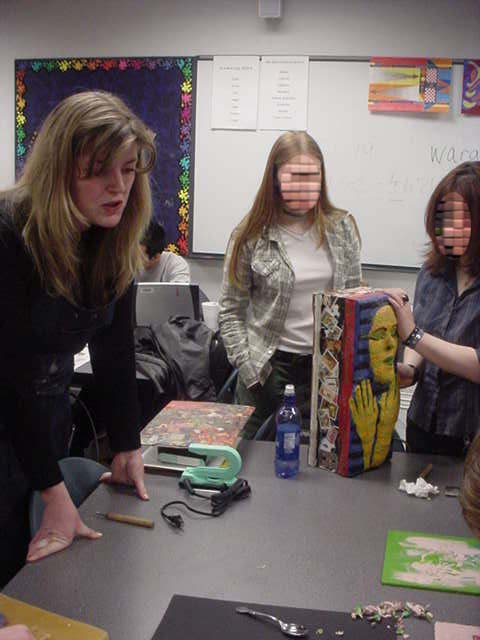 |
Here I am speaking to the students that are working on the panels. To my left you can see a collage piece as well as a 3-D piece that I brought for examples. |
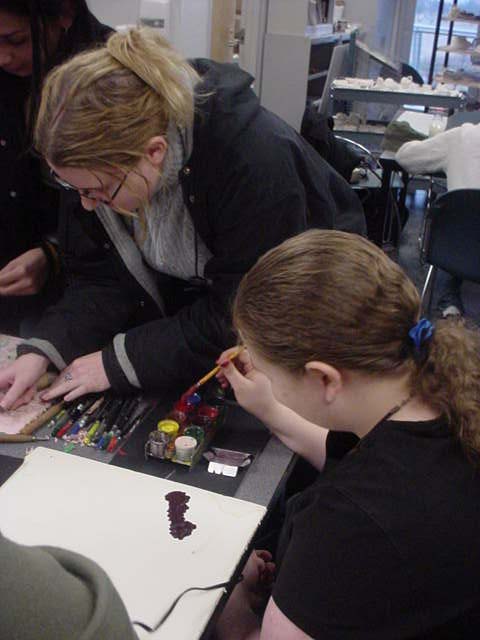 |
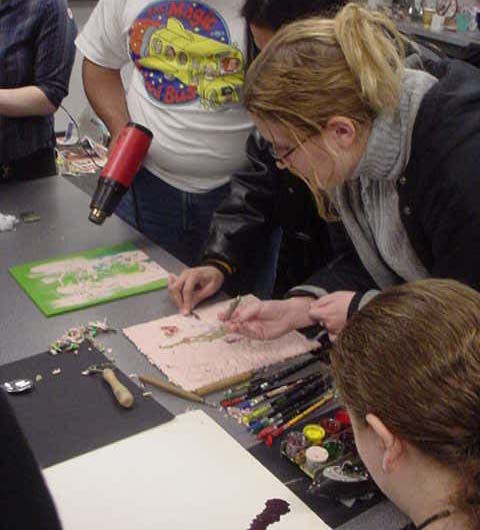
Here are two more students from the first demonstration. They are using the hot palette to paint with hot wax and carving tools to carve into the panels that I prepared with layers of wax. |
 |
This is the second class I worked with. First we had a discussion on cultural perspectives through the story Little Red Riding Hood, then we worked with encaustic. |
 |
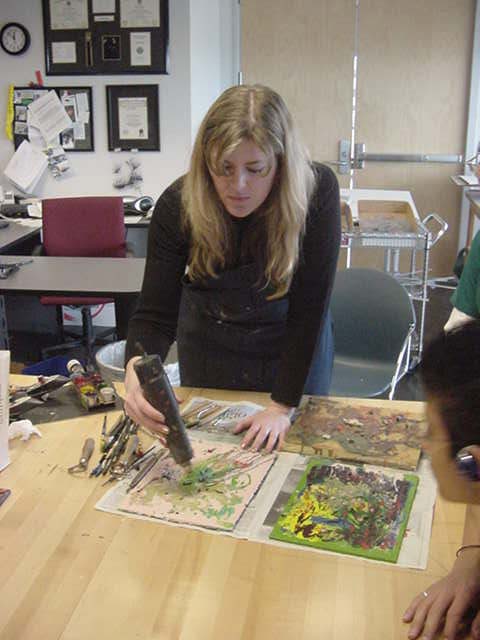
This is the demonstration for the second class. I used the same panels from before to demonstrate the techniques. |
 |
Here I am demonstrating how to use the heat gun. |
 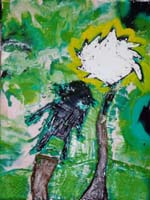 |
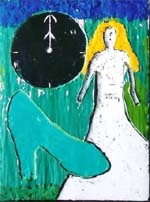
Here are the finished encaustic paintings by the students at the Academy of Irving. |
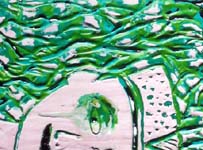 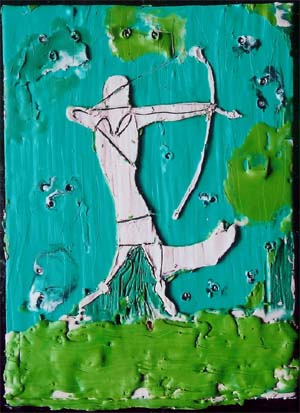 |
They are based on the stories: Cinderella, Pegasus, Dr.
Seuss, Nefertiti, and Robinhood. |